January 13, 2023
Scrap Wood Trim Picture Frames
Summary
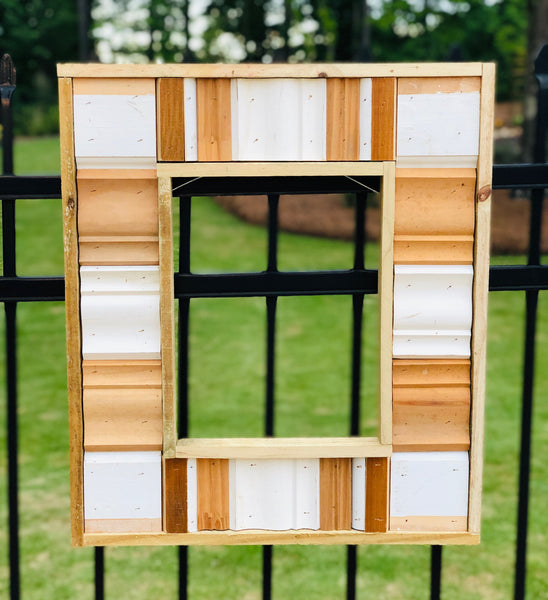
This particular scrap frame project uses plywood, old fencing, and lots of random trim pieces, some old, some new, some with paint, others natural or stained. Each one is different and full of texture.
Have you been accused of hoarding? If you read my DIY blogs, chances are you like doing projects. As a natural downside to that you probably have lots of scraps of this and that sitting around with great plans in mind. I mean everything has potential, right? Just yesterday I was looking up uses for old barbed wire, but I digress.
Anyway, we hung most of the trim in our house. (The hubs became quite good at crown moulding.) But we had leftovers that I just couldn’t part with so I came up with a some projects that would incorporate the mismatched pieces, one of which is picture frames. You may be thinking, ‘So what’s the big deal about making a picture frame from scrap trim?’ Well it’s not what you think, exactly.
This particular scrap frame project uses plywood, old fencing, and lots of random trim pieces, some old, some new, some with paint, others natural or stained. Each one is different and full of texture. If you want to make one for yourself, here are the steps.
INSTRUCTIONS
- On a table saw, rip some fence boards to 1.5″-2″ wide. Alternatively, purchase 1″ x 2″ boards. These will become the outer and inner frames.
- Decide what size opening you want. Decide how wide you want the frame on all sides.
- Add those dimensions to your opening size to get the overall size and cut a piece of 3/4″ plywood to fit.
- Mark your opening.
- Drill a 3/8″ hole in each corner.

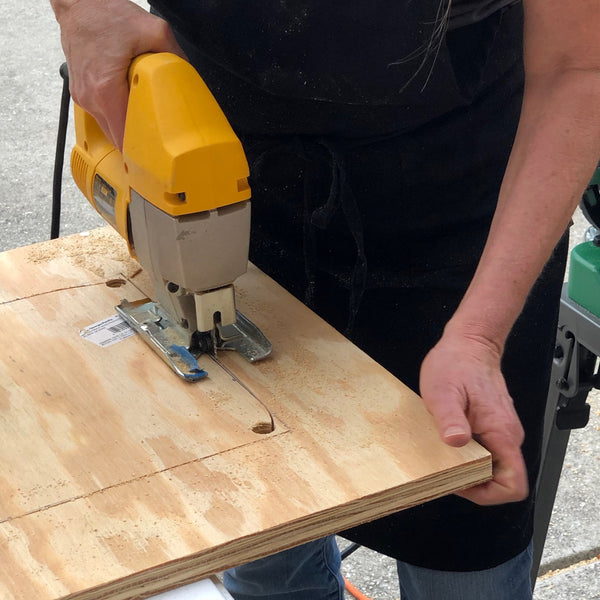
- Using the holes as entry points, cut out the center of the plywood with a jigsaw.
- Cut all trim pieces to the same length, which is the width of the frame on all sides of the opening.
- Cut outside frame on miter saw

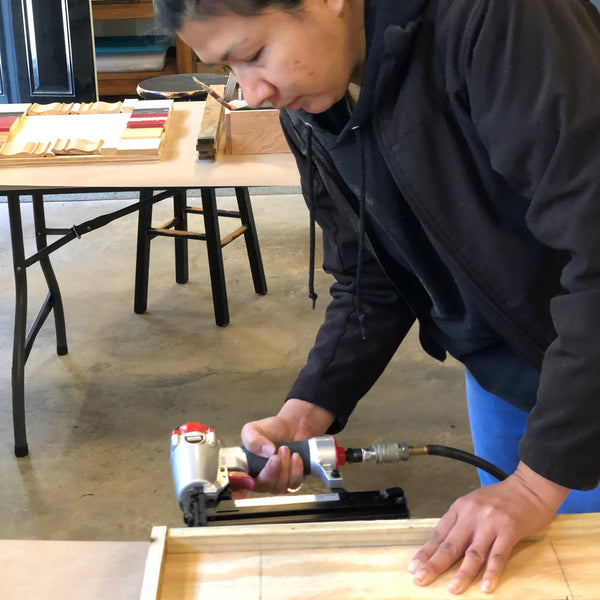
- Attach outside frame with nail gun.
- Arrange trim pieces as desired
- Clean pieces and paint or stain them
- Glue and/or nail trim pieces in place

- Cut inside frame with miter saw.
- Attach inner frame with nail gun. Position it so it creates a rabbet (ledge) for the artwork to rest upon.
- Finish painting and/or staining
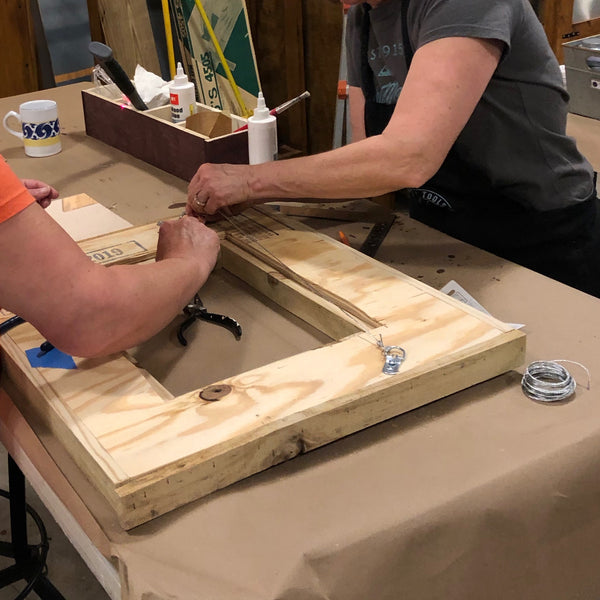
- Attach hanging hardware
- Add mat, glass, and artwork or mirror
ALL DONE!

I decided that these would make the perfect addition to our property in Blue Ridge, Century View Lodge. Two of them adorn the bunk room adding function, style, and symmetry to the walls.


If you like this basic idea but don’t have scrap trim, here are some other examples using other wood options. Use your imagination and give it a try!
