September 17, 2025
Fire Extinguisher Camouflage
Summary
Need to hide something unsightly? See how we hid our fire extinguishers in plain sight.
Do you have something that is absolutely necessary, totally visible, but completely not your vibe in your house somewhere? You know, like a thermostat, or radiator?
When our winery was almost finished, I mean punch list time, I walked in to find bright red fire extinguishers in full view. Our project manager told me we had to have them obvious to guests and hanging at five feet high. CHALLENGE ACCEPTED!
We had two to contend with. One in our foyer and one in the loft space. These projects are my favorite kind: inexpensive, fast, practical, unique, and impactful.
First stop, my go-to thrift store, Better Way Bargains. Right out of the gate-SCORE! A $40 narrow curio cabinet.
(Next time I probably should be more strategic in taking photos so you don’t get a glimpse of all my ongoing projects in the garage.)
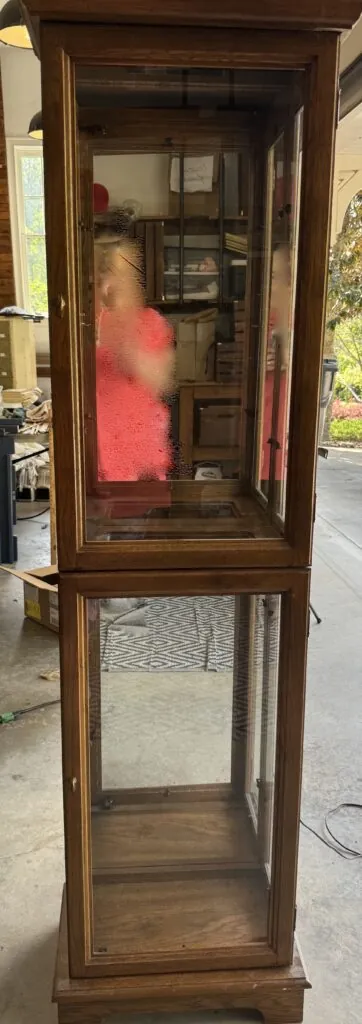
- As you can see, there is a lot of glass. I only needed to see through the top door and since it was going to be in a high-traffic area, there was a little concern over breakage. Fortunately, it was really easy to remove. I just cut some scrap luan (1/4″ plywood) to fit the spots.
- The fire extinguisher was heavy and came with mounting hardware. So I added a piece of 1″ x 3″ inside the cabinet to create a sturdy backing for it.
- Next I painted the cabinet the same color as the trim and walls in the winery. By the way, that is a Valspar color, Midnight Shadow, but a Sherwin-Williams paint.
- I still did not want to see clearly through the glass so I purchased Artscape Window Film at Home Depot along with the application kit (not completely necessary). The hardest part was cutting it straight to fit the glass.
- Next, the jewelry, knobs.
- Finally, the lettering. I found an online place, Lettering.com. They had super quick service and I was thrilled with the result. Application was really easy.
- Once in place, it had to be installed so I notched out the baseboard to make it fit against the wall. Then we used the hardware that came with the extinguisher to mount it.
THE RESULT

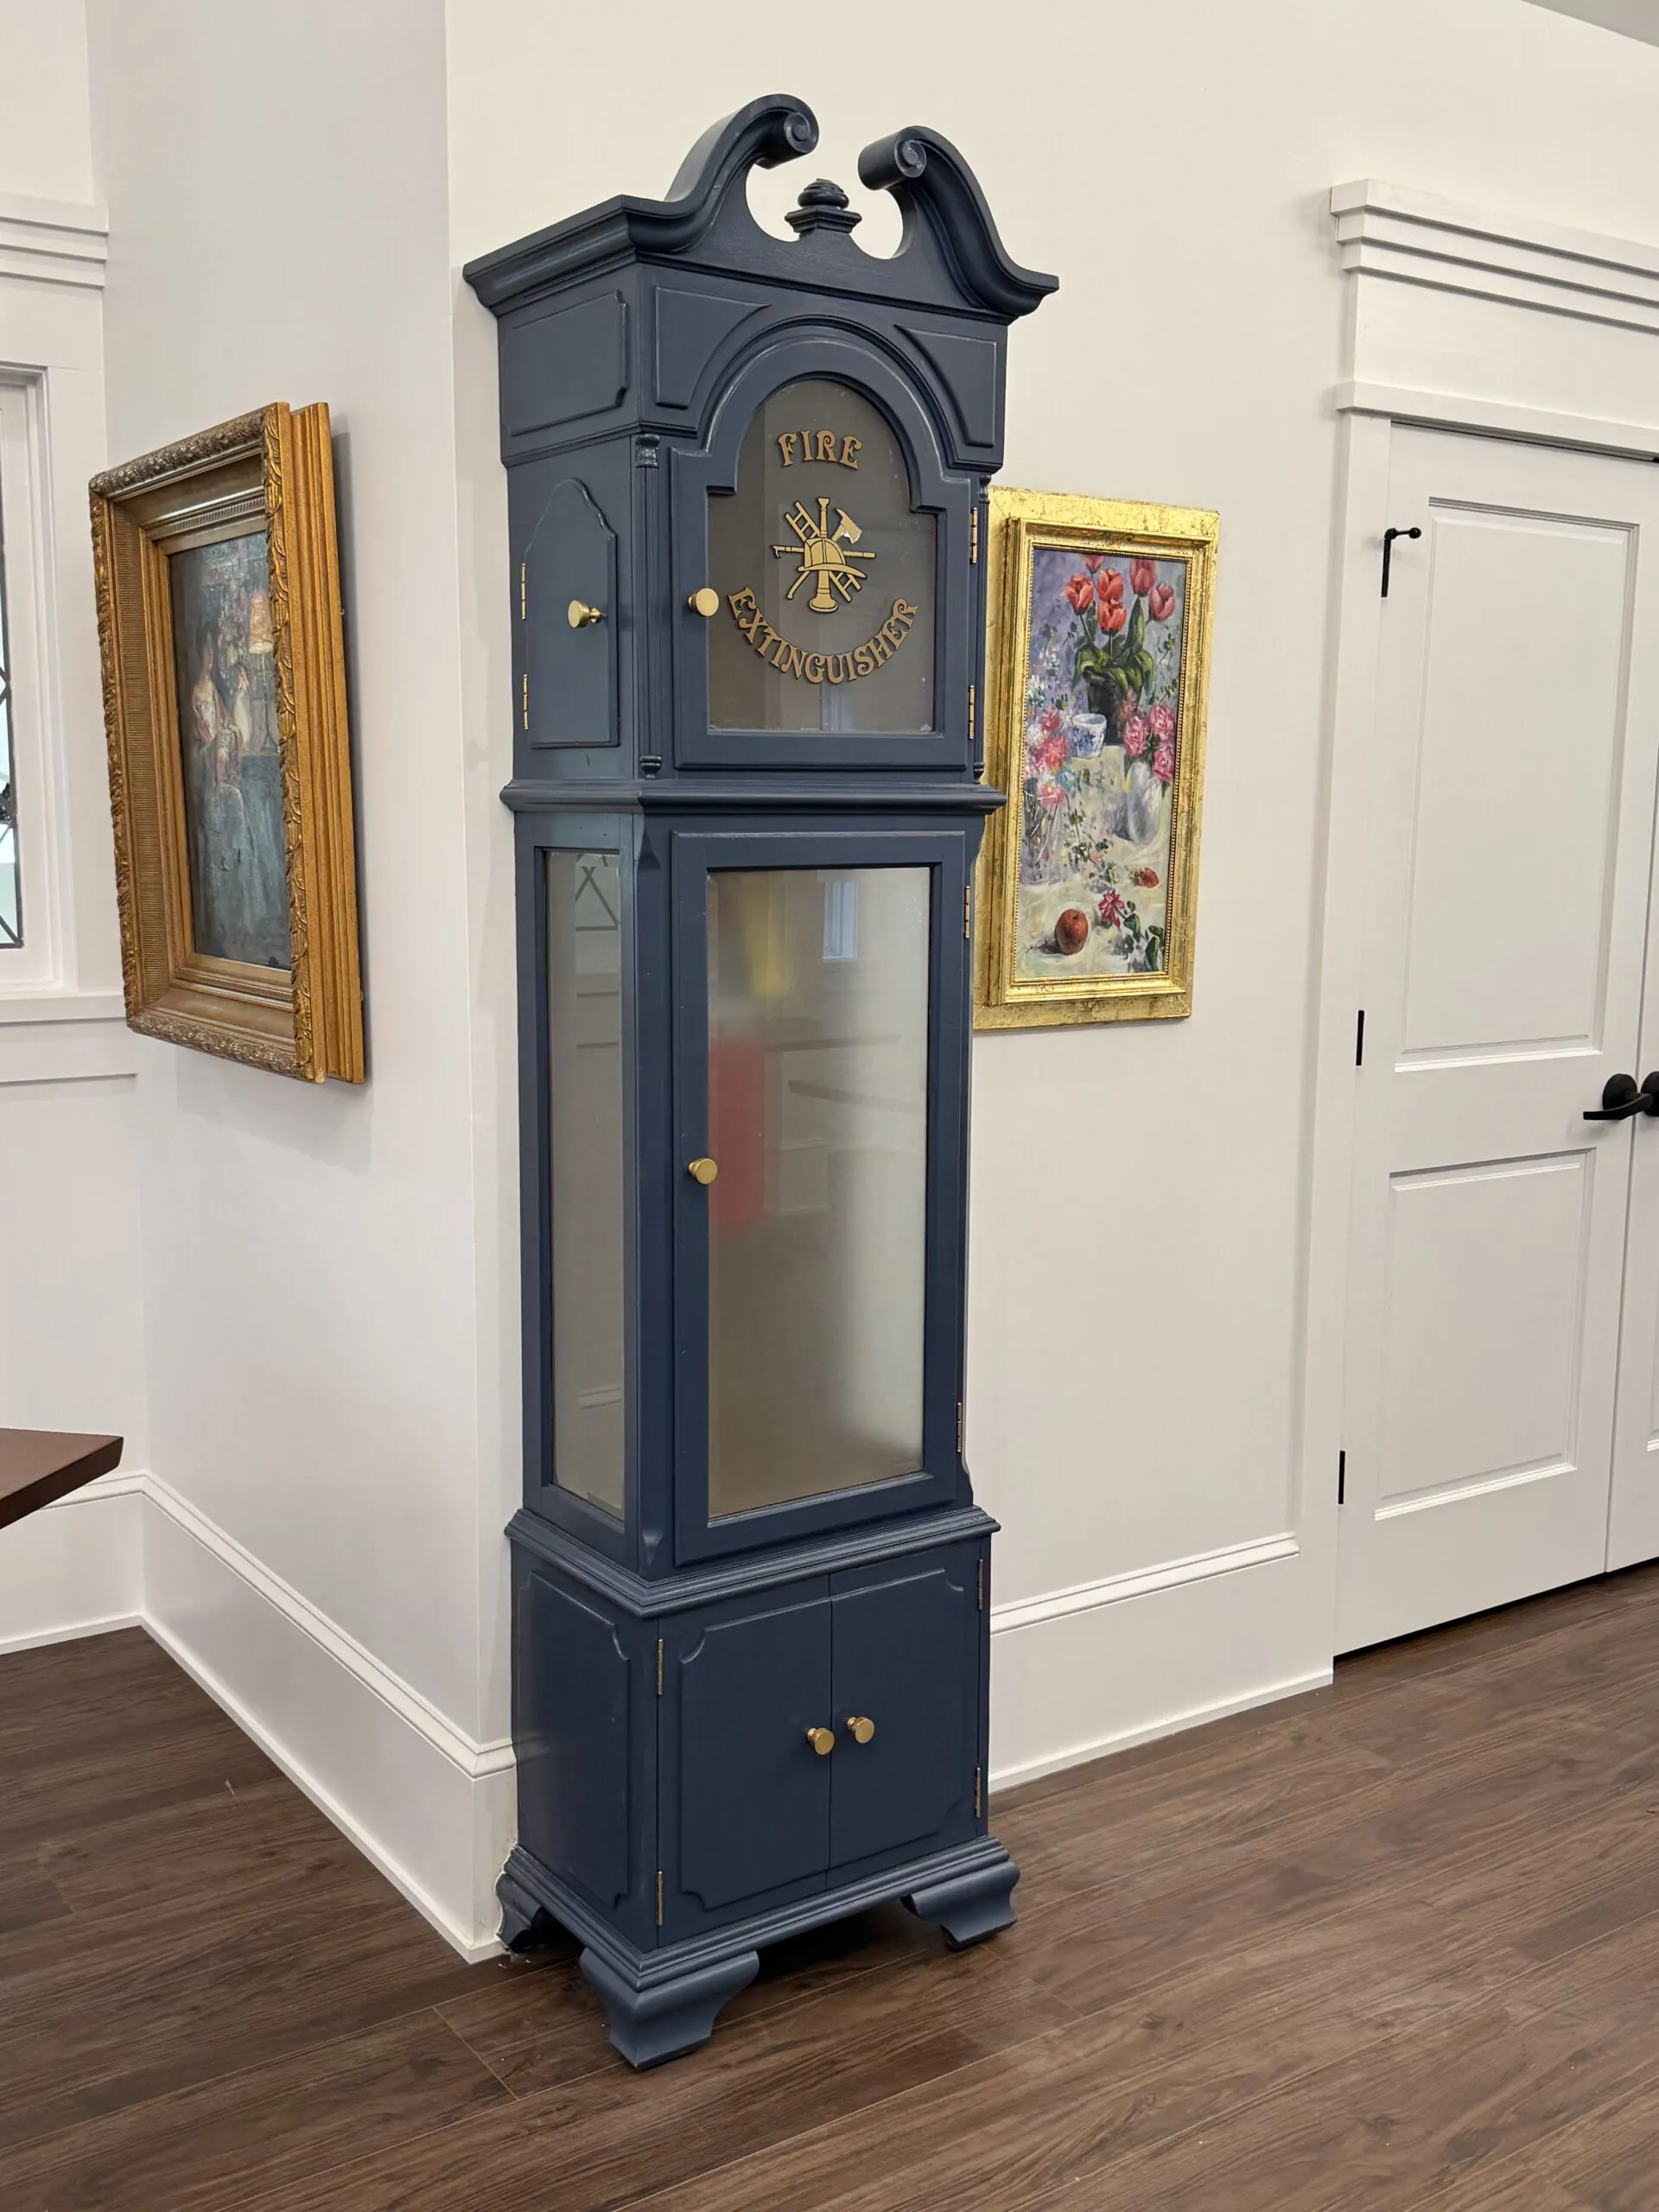
Next was the loft space. I was open to another curio cabinet but I really thought it would be cool to use a grandfather clock. FaceBook Marketplace came to the rescue. For $75, I got this really solid piece. Strangely, the actual clock mechanism was like from a craft store. No chimes or weights.

- Remembering that I needed the height of the extinguisher at five feet, I had to do some deconstruction on the the cabinet to make it fit in the right spot which meant I had to remove the horizontal divider between the two sections.
- I removed the clock face which was so much harder than I expected, I mean ridiculously so.
- Once that was done, it was smooth sailing so on to painting. I used the same color as the other one.
- The hinges were the wrong color so I spray painted them.
- I used the same Artscape Window Film. I kept all of the glass because it was nice, having beveled edges. It worked for the look.
- The lettering came again from Lettering.com. Laying the letters out in a circle was not problem for them.
- I needed something in the center but it wanted it to look vintage, not cutsie. The solution came from DesertClover on Etsy. It was a car decal that the owner was happy to custom color for me.
- For installation, the baseboard had to be notched again. (I had my nephew do it.)
There you have it! My encouragement to you is, you don’t have to live with ugly, just get creative.
If you haven’t done it already, I hope you come by and see these projects for yourself and relax with some wine while you are there!
THE RESULT