March 27, 2024
Freebies on Hairpins
Summary
Learn to make occasional tables on a dime, quickly and easily.
Most of us have had situations where we wanted to spend as little as possible but still have some style. Actually, that’s usually the case with me but recently it was the driving factor in a decorating job I had.
We have a mid-term stay rental property that we wanted to provide furnished to our guests. We knew it would take abuse and also knew it was not going to be a long-term situation. So how do you get style, comfort, and durability for next to nothing? My favorite kind of challenge!
As a starting point, we brought every piece of available furniture from our own home which included and array of small pieces. Then I hit thrift stores for some big pieces and one of my favorite spots, a hotel liquidator.
I still needed some end tables and a coffee table which are perfect DIY projects. Looking around my garage, the lightbulb came on.
This post comes under the “cheap and cheerful” category. I didn’t have to buy anything to make these three pieces. As giant bonuses, they also took very little time and used up a bunch of scrap wood. These are great starting projects for anyone on a tight budget or new to wood working. Read on to see how I made three tables for nothing.
End Tables
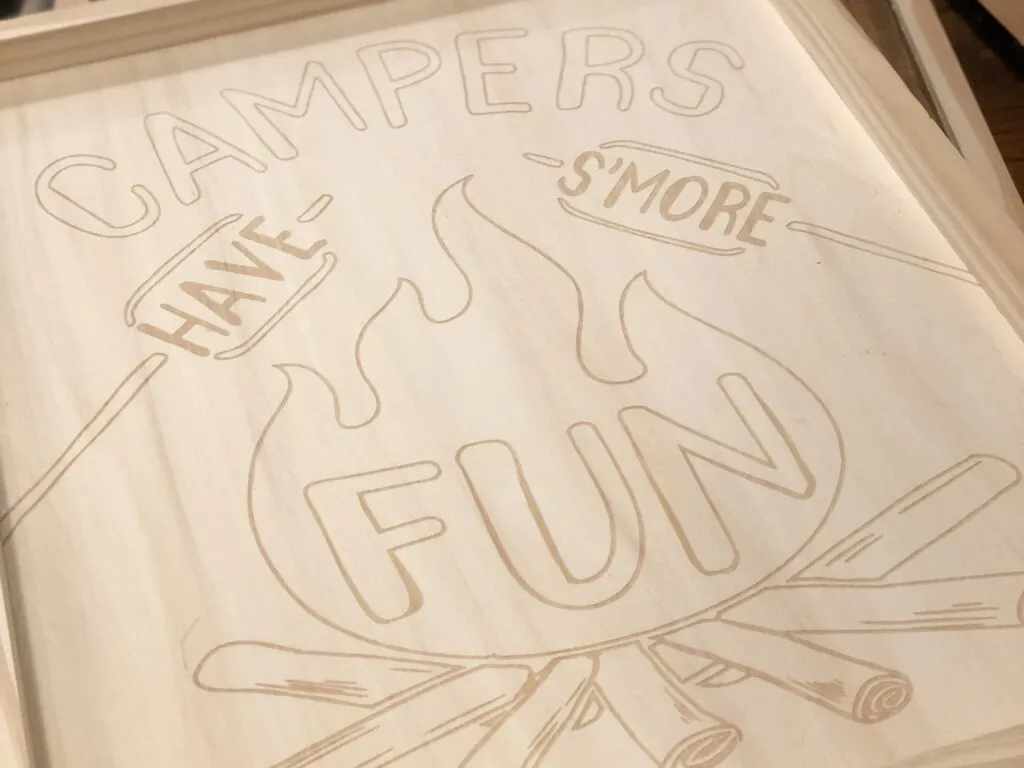
A couple of years ago I had purchased three trays for 70% off ($3 each). They seemed like a perfect starting point for some side tables.

A cartoon campfire picture wasn’t the look I was going for so I dug into the scrap wood pile for what I had most, 1″ x 2″‘s, to create a more appropriate table top.

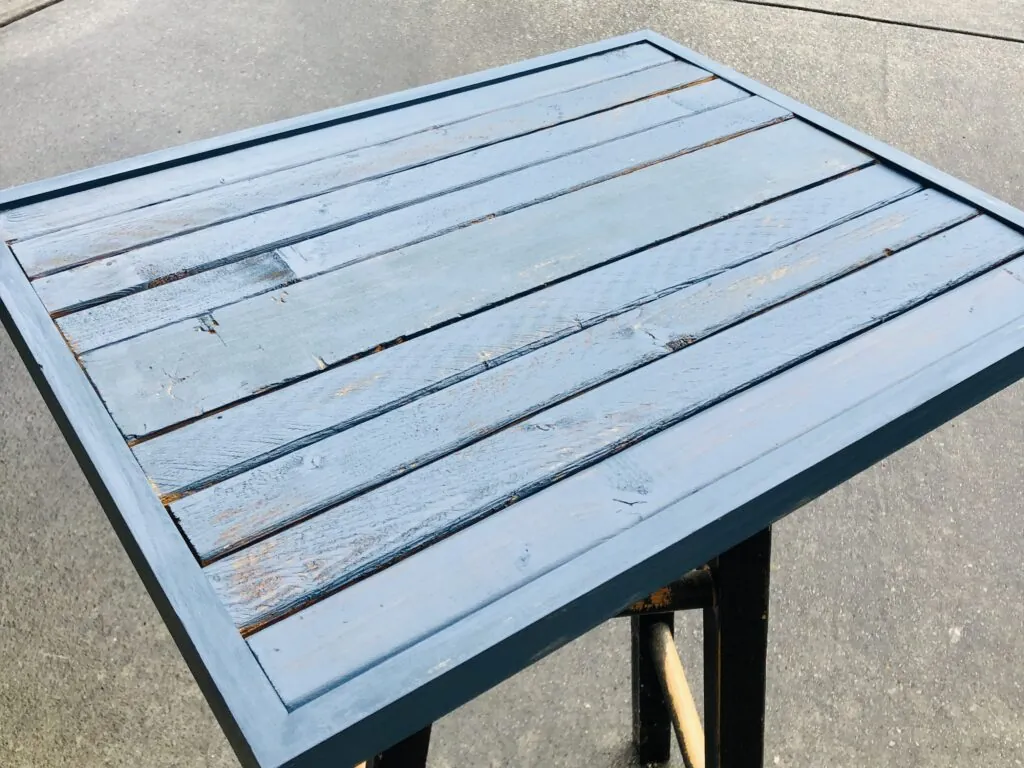
I just cut the pieces to length to fit within the frame of the tray and used a nail gun to attach them, although wood glue would have worked just fine.

I actually really liked the wood look as it was but thought it would be too much since the tables were to flank a brown couch. So instead to balance out the blue curtains in the room, I happened to have just the right color on hand.

I didn’t want the paint to look too pristine since it was going to take a lot of abuse, so I sanded it back a little bit.

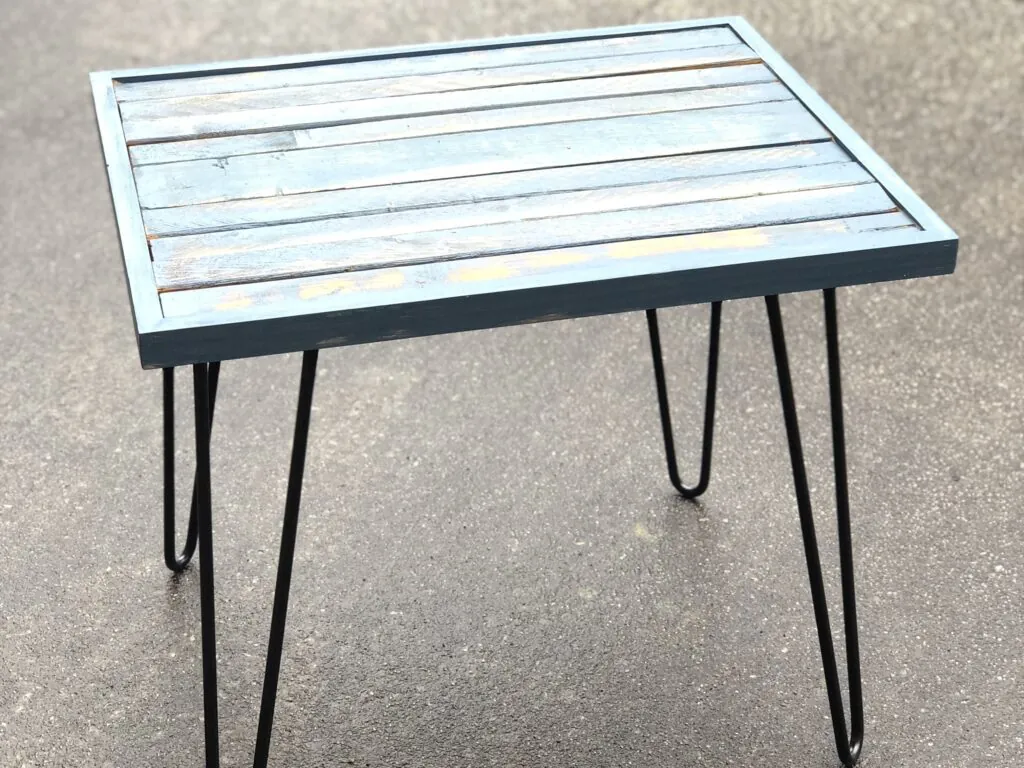
Next step was to attach the legs. I marked the back of the top, insetting the legs by about an inch on all sides.

I had a stash of hairpin legs from an unfinished idea from a couple of years ago. They can’t be easier to install. Just be sure the screw length is correct.

At this point I sprayed a few coats of polyurethane on the table top.
I liked it but thought it needed to be more substantial looking since it was going to be near some large furniture pieces. To I decided to beef them up a bit.
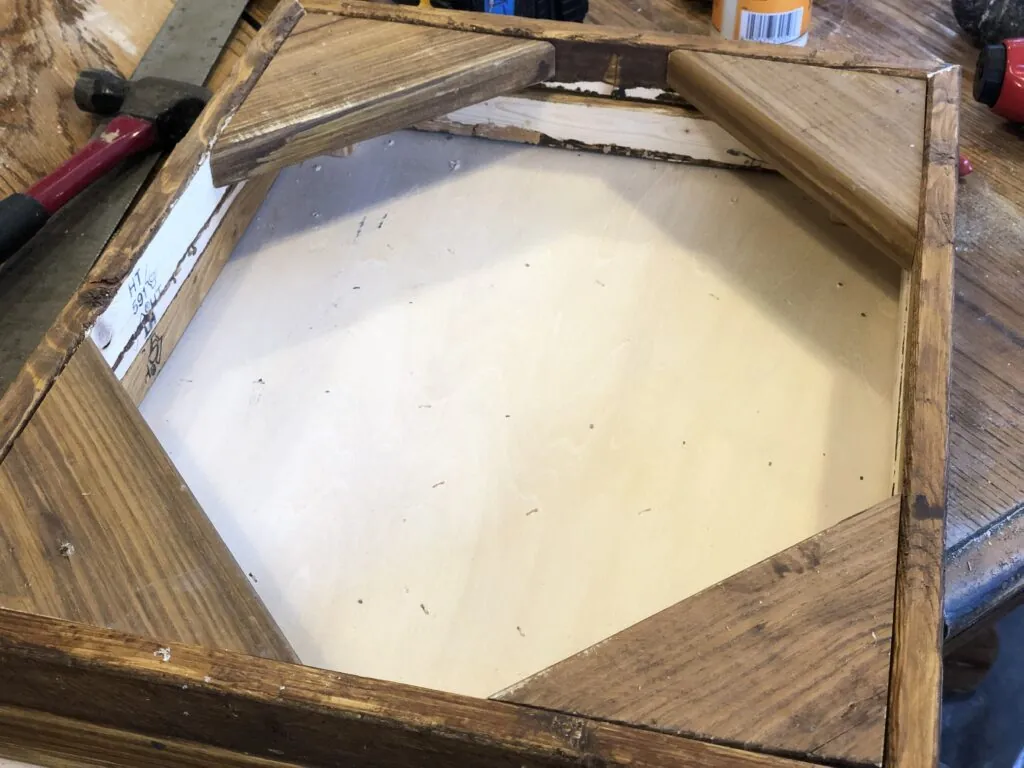
I took off the legs. Turning over the table top, I added a small block for stability in each corner.
Since most of my scraps were still 1″ x 2″‘s, I used those to add dimension to the table top. I cut two sets of frames, basically, to stack on top of each other, glueing them together and nailing them to the corner blocks.

Then to have a solid place for the legs to attach, I added the triangular braces to the corners.

I reattached the legs. Ahhh, much better.

After finishing the paint job, I had a piece of glass cut to create a cleanable and smooth surface for ease of use. You will see that in the final photo. Okay, confession: I did have to buy those but they were not absolutely essential.

Before I give you the “after” picture, I want to show you another quick table project for the same room.
Coffee Table
I needed a coffee table- something lightweight but sturdy that could be moved when the sofa bed needed to be opened.
The starting point was a table top from a previous project which already had a white crackled finish. I also had another set of hairpin legs so I attached those directly to the table top.
I cleaned up the loose paint before attempting any other treatment. I felt like it needed something. I decided that the perfect thing would be the longitude and latitude of that property.
I dug out some stencils and black paint and went for it. By the way, I have been seeing stenciling making a come back. The key to doing this is to make sure you have barely any paint on your brush and to use a pouncing motion with a stenciling brush, not back and forth.

I sealed the table top with some spray polyurethane to keep paint from chipping and make it more cleanable.
Here’s the final result.In case you were wondering, the curtains, couch, pillows, and painting were thrifted. The lamps came from the hotel liquidator and the basket and chair from our house.

That was it! I LOVE these kind of projects! Cheap, fast, and cute!